

- Open Ara, review how the coding-agent loop works, and sign in with Google or an email verification code.
- Choose New task and describe the result you want.
- Name a repository or Device only when the task needs one. Otherwise, Ara can start in a scratch workspace.
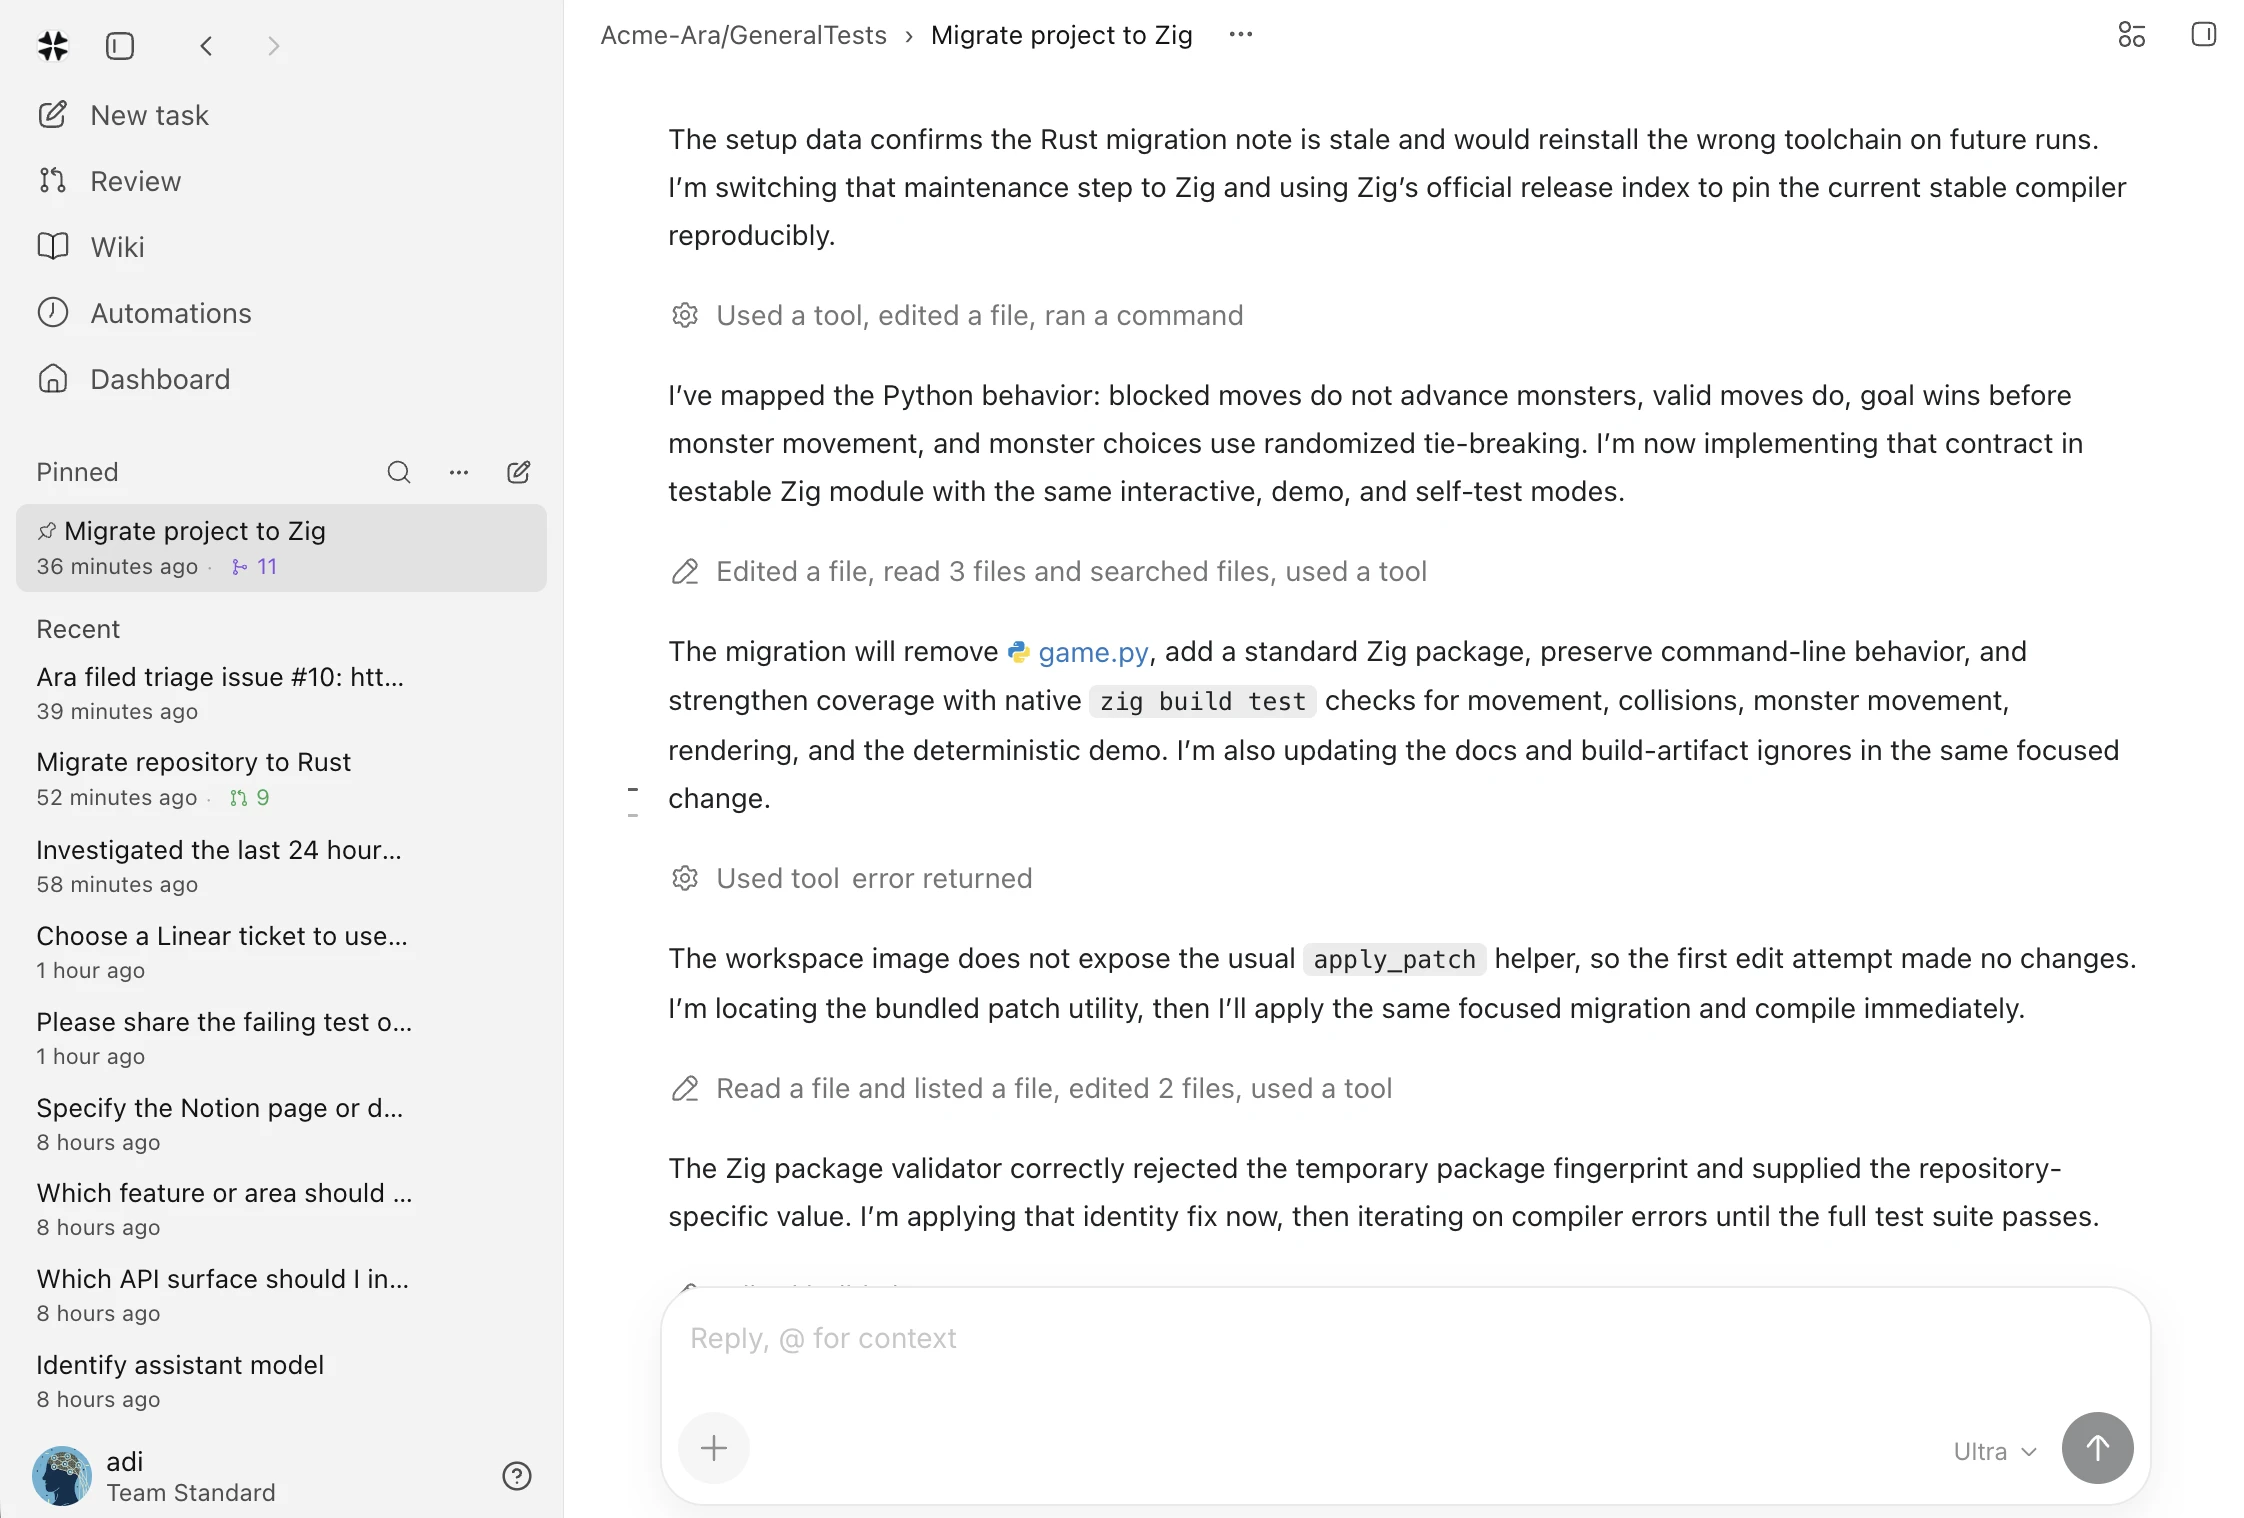 For recurring work, create an automation. For work that runs longer, return to
the session to follow progress, inspect evidence, and decide what happens next.
Add organization context when every task should begin with the same company
background.
For recurring work, create an automation. For work that runs longer, return to
the session to follow progress, inspect evidence, and decide what happens next.
Add organization context when every task should begin with the same company
background.
Choose an interface
To connect a Mac, install the CLI and follow the sign-in prompt:
Models and keys
Choose a model in the task composer, or connect a provider in Settings → Models & credentials. Provider keys are encrypted and stay inside Ara’s service boundary; they are not added to a task, terminal, or command line. Ara uses the model you selected. If a provider is unavailable, the task shows the failure instead of silently switching models. Model usage and sandbox time draw from your workspace credit balance.Continue with your task
- Review the session to see the conversation, changes, commands, and evidence together before accepting a result.
- Use automations for repeated work on a schedule, webhook, or event.
- Connect repositories, plugins, and approved Devices only when the task needs that context.
- Keep credentials in the workspace settings rather than source code, prompts, or terminal history.